This article will take you through the process of installing Wordpress on your hosting space using the free Wordpress Toolkit.
Method 1 - From your client portal
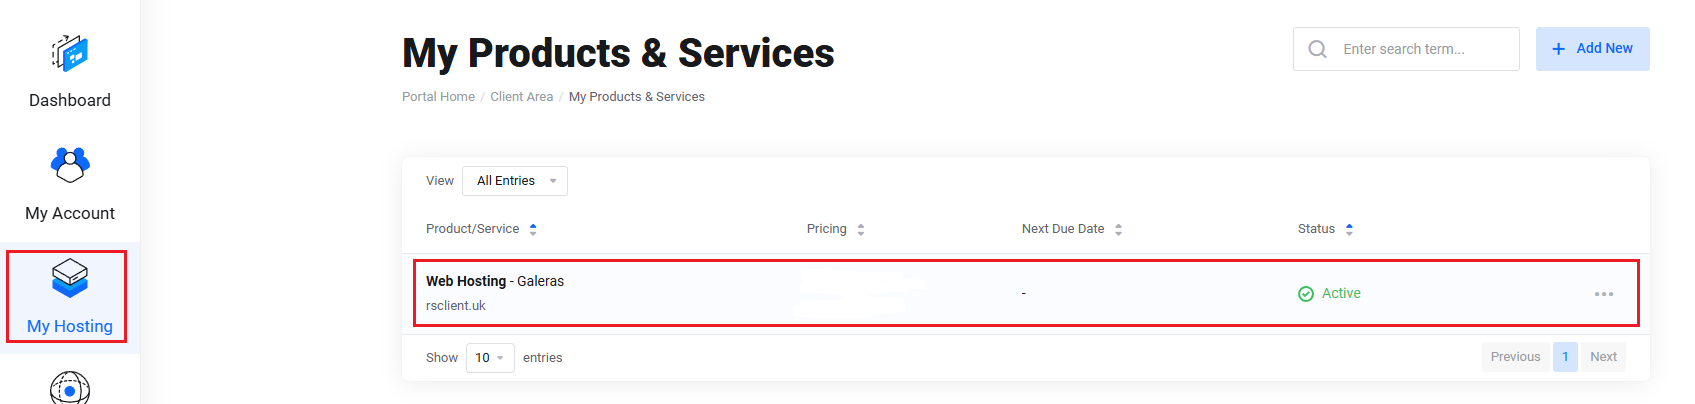
The first way you can install Wordpress is via your client portal. Firstly login at https://rshost.uk/login and then go to My Hosting on the left hand side and then click on the hosting package you wish to install Wordpress on.
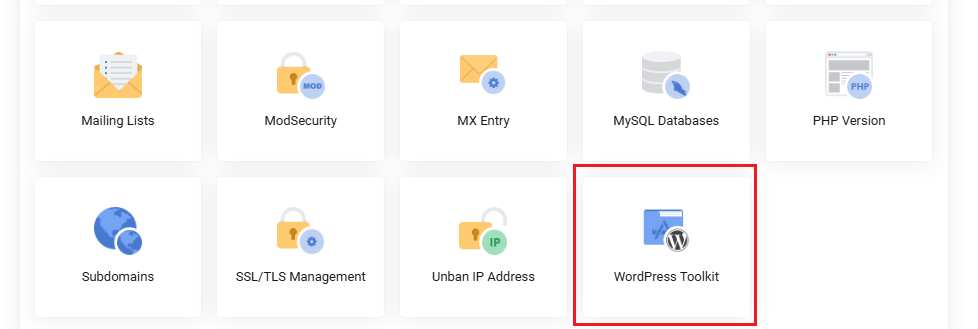
Once you are on the Product Details page scroll down and choose Wordpress Toolkit under the Manage Account heading.
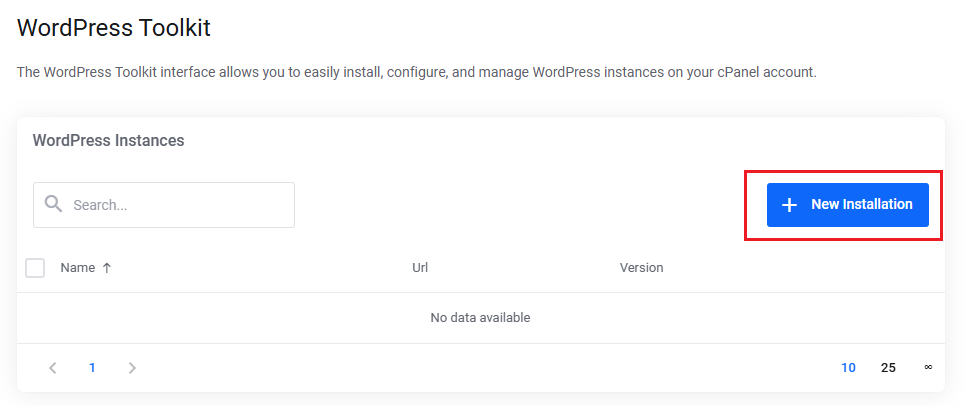
If you do not currently have any wordpress sites installed under your hosting package there will be none listed. Click on New Installation to install wordpress.
This will then open the New Wordpress Installation interface where you will be prompted with 4 different headings.
Details Heading
Protocol: We recommend HTTPS to ensure your site is secure
Domain: Leave this as default.
Site Name: The name you want to give your website. This will be show in browser tabs and also in search engines.
Plugin/Theme Package: Choose which default apps you would like to have installed. If you don't know then just choose "None".
Language: What language you would like your installation to be in.
Version: Leave this as default for the most recent version, unless you require an older version to be installed.
Installation Path: If this is your main website leave this as it is. If you are installing wordpress into a folder then enter the folder name here.
Administrator Heading
On this page set a username, secure password and enter the email address you would like to use for your first administrator account on your website.
Database Heading
You can leave the options blank on this page for them to be randomly generated. These details can be found in your wp-config file at a later point in time if needed.
Updates Heading
On this page you can choose how you want your website to handle updates.
Wordpress Update: Choose if you want your wordpress installation to automatically update itself when a new version is available
Plugins Update: Choose how your website plugin updates are handled
Themes Update: Choose how your website theme updates are handled
Once all of this information has been entered click on confirm at the bottom of the page and your wordpress installation will begin. Give it a few moments and your wordpress installation will be completed. You can now login to your website using the administrator username and password you specified on the Administrator Heading.
Method 2 - From inside cPanel
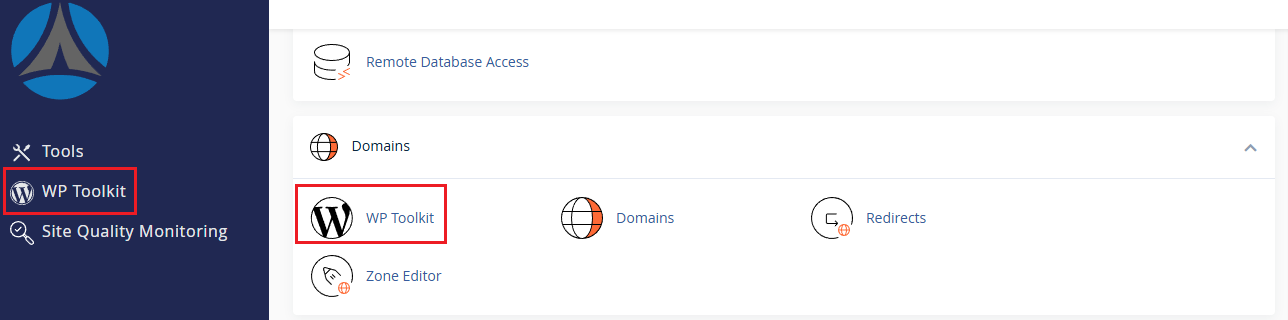
Once you are logged into cPanel for your hosting package you can choose WP Toolkit from either the left hand menu or from under the Domains heading.
Once you are on the WP Toolkit page click on Install at the top to begin the installation process.
You will then be shown 4 headings. These are General, WordPress Administrator, Database and Automatic Update Settings.
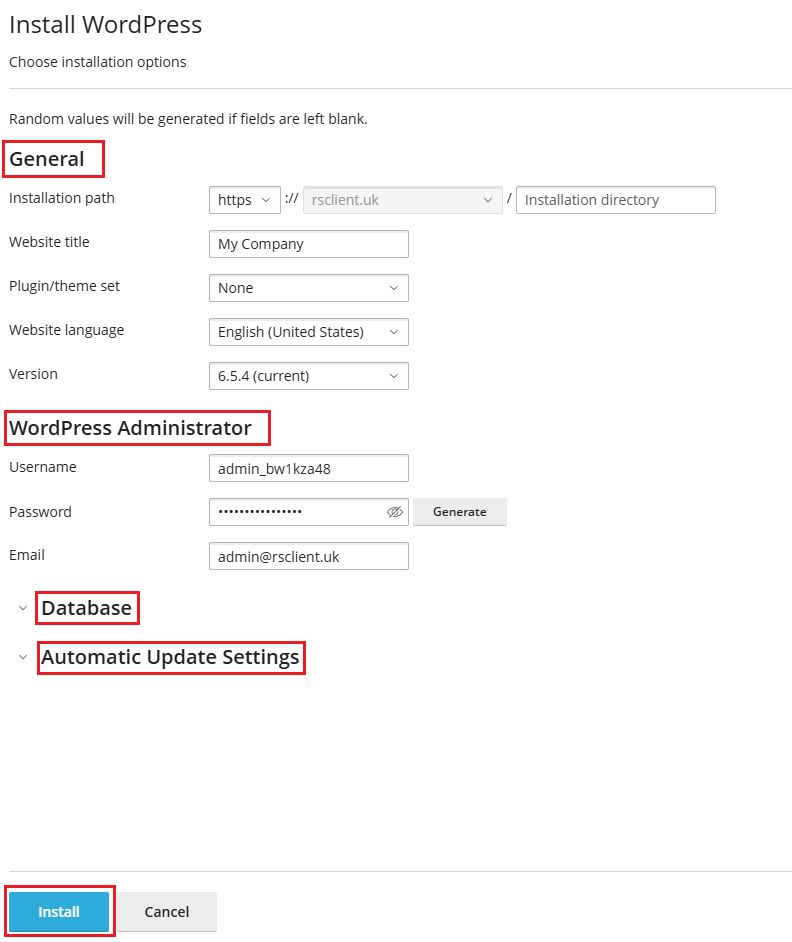
General Heading
Installation path: If you want your main website to be this Wordpress installation then leave this as default. If you want to install Wordpress into a folder then enter a folder name in the installation directory field
Website Title: he name you want to give your website. This will be show in browser tabs and also in search engines.
Plugin/Theme set: Choose which default apps you would like to have installed. If you don't know then just choose "None".
Website language: What language you would like your installation to be in.
Version: Leave this as default for the most recent version, unless you require an older version to be installed.
Wordpress Administrator Heading
On this heading set a username, secure password and enter the email address you would like to use for your first administrator account on your website.
Database Heading
You can leave the options blank on this page for them to be randomly generated. These details can be found in your wp-config file at a later point in time if needed.
Updates Heading
On this page you can choose how you want your website to handle updates.
Wordpress Update: Choose if you want your wordpress installation to automatically update itself when a new version is available
Plugins Update: Choose how your website plugin updates are handled
Themes Update: Choose how your website theme updates are handled
Once you have entered this information click on Install at the bottom to begin the Wordpress installation.
If you have any issues getting Wordpress installed then please feel free to reach out to our support team who would be more than happy to help.
